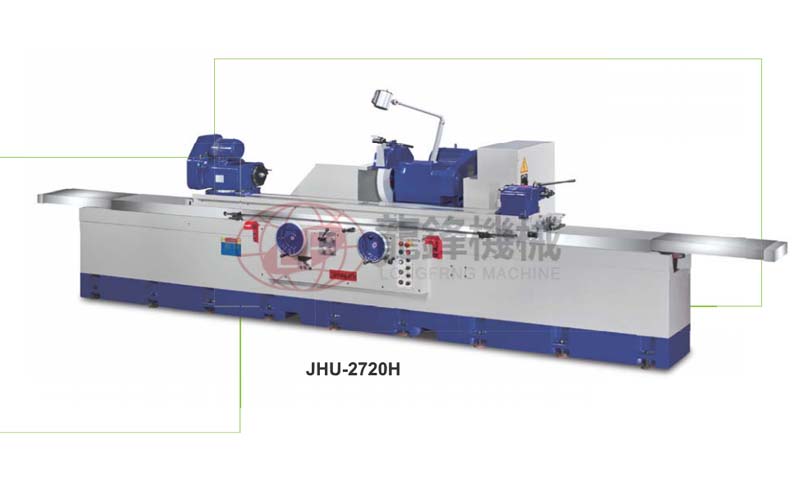
High precision mirror shaft rods are widely used in modern industrial manufacturing, and roundness error control has become an important factor affecting product quality. The roundness error mainly comes from insufficient precision of processing equipment, unreasonable process flow, fixture assembly deviation, and small vibrations in the operating environment. To ensure that the high-precision mirror shaft meets the design requirements, a reasonable process route design is particularly crucial. During the machining process, high rigidity and high stability CNC equipment are selected to effectively reduce spindle runout and resonance phenomena during the machining process.
For fixture positioning, high-precision spindle clamping is used to ensure stable coaxiality of the shaft rod during processing. In terms of process setting, the sequence of rough machining, semi precision machining, and precision machining is clear step by step. By reasonably arranging the feed rate and cutting parameters, the machining stress and thermal deformation are reduced. At the same time, advanced online detection equipment is applied to monitor each processing step in real-time and correct deviations in a timely manner. For high demand application scenarios, ultra precision grinding and polishing processes can be added after precision machining to further optimize roundness errors.

Controlling the temperature of the production environment within a constant range helps to reduce the impact of thermal expansion on dimensional accuracy. Through full process quality control and rigorous testing standards, we ensure that the roundness error of high-precision mirror shaft rods is within a reasonable range, meeting the requirements of precision assembly.


